

Drip art is more than a painting style—it’s a celebration of freedom, expression, and letting go of perfection. Known for its bold, fluid streaks of paint, this technique was popularized by 20th-century artists like Jackson Pollock and has seen a resurgence in modern art, DIY projects, and home decor.
Whether you’re an experienced artist or someone curious about trying something new, drip art is an approachable and versatile technique that brings a spark of creativity to any space. This guide will explore the fascinating world of drip art, its history, how to get started, and its inspiring potential for your own art and decor projects.

The History and Resurgence of Drip Art
Drip art first found its place on the global art stage with the rise of Abstract Expressionism in the 1940s. Pioneers like Jackson Pollock used this technique to channel emotion and spontaneity, creating striking artworks that challenged traditional art norms. His method of dripping and splattering paint onto large canvases, often laid flat on the ground, broke boundaries and delivered a raw, dynamic energy.
Though Pollock is the most recognizable name associated with the drip art technique, many modern artists have adopted and redefined it, incorporating their own styles and interpretations. Today, this technique isn’t just restricted to galleries; it’s widely used by hobbyists, DIY lovers, and home decorators looking to add a unique, personal touch to their creative projects.
What is the Drip Art Technique?
Drip art is a painting method where paint is dripped, poured, or flicked onto a surface, resulting in organic, free-flowing patterns. What makes this technique exciting is its lack of rigid rules—you can experiment endlessly with colors, textures, and mediums.
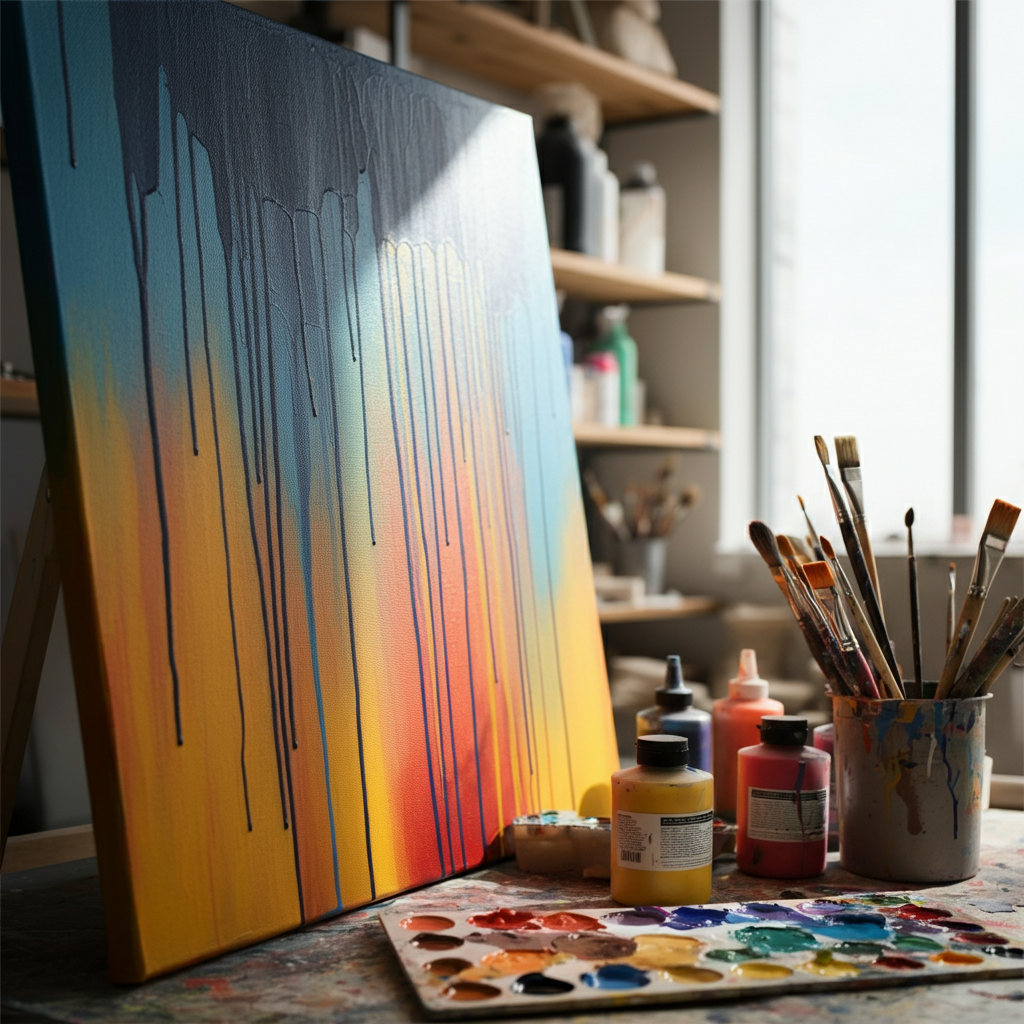
Materials You’ll Need:
- Canvas or painting surface (paper, wood, or even furniture work great).
- Acrylic paint or any other fluid paint medium.
- Tools like brushes, sticks, droppers, or even household items like straws or spoons for dripping.
- Protective coverings for your workspace and clothes (this can get messy!).
- Optional additives like gloss mediums or pour mediums to achieve specific effects.
Why Choose Drip Art?
- It’s versatile: You can create abstract pieces, accent walls, or even functional decor like painted pots or trays.
- No special skills required: It’s beginner-friendly and doesn’t demand traditional painting techniques.
- Highly therapeutic: The flowing motion of the paint can be relaxing and stress-relieving.
- Unlimited creativity: Drip art allows you to experiment with colors, textures, and patterns, giving you the freedom to express yourself without constraints.
- Unique results every time: No two drip art pieces are alike, making each creation truly one-of-a-kind and personal.
- Inclusive for all ages: This art form can be enjoyed by both children and adults, making it a wonderful activity for families, groups, or solo relaxation.
- Affordable and accessible: You don’t need expensive materials or tools, making it a budget-friendly way to explore your artistic side.
Inspiration from the World’s Greatest Drip Artists
If you’re searching for creative inspiration, look no further than these famous artists and their work.
- Jackson Pollock: The undisputed master of drip art, his pieces like Convergence are iconic examples of this style. Pollock’s method involved layering paints of varying viscosities to produce intricate textures and movements.
- Sam Francis: Known for integrating drips within fluid color spaces, Francis brought an emotive and vibrant style to drip painting.
- Contemporary Artists: Many modern creators have adapted the spirit of drip art for massive murals or digital art forms, making it relevant in today’s art spaces.
How to Create Drip Art at Home
Bring out your inner artist and create your very own drip art masterpiece with this step-by-step guide.
Step 1: Prepare Your Workspace
Drip art can get messy, so choose an area that’s easy to clean and lay out protective sheets or tarps to cover the floor and surrounding surfaces. Secure your canvas or surface with masking tape to ensure it doesn’t move.
Step 2: Mix Your Paint
Use acrylic paint and adjust its consistency by adding water or a pour medium. Aim for a smooth, fluid texture—thicker for bold streaks or thinner for light, delicate drips.
Step 3: Start Dripping
Use different tools such as a paintbrush, pipette, or even your hands to pour or flick paint onto the canvas. Experiment with layering colors, starting with a base and building up with contrasting hues.
Step 4: Tilt and Swirl
To create interesting patterns, pick up your canvas and tilt it to allow the paint to flow in different directions. You can also swirl or rotate the surface for unique effects.
Step 5: Dry and Add Finishing Touches
Once you’re satisfied, allow your painting to dry completely. If needed, apply a protective sealant or gloss finish to make the colors pop.
Pro Tips for Beginners:
- Don’t fear mistakes—they often lead to unexpected masterpieces.
- Experiment with metallic and neon paints for an extra wow factor.
- Try dripping on unconventional surfaces like pottery or furniture for added creativity.
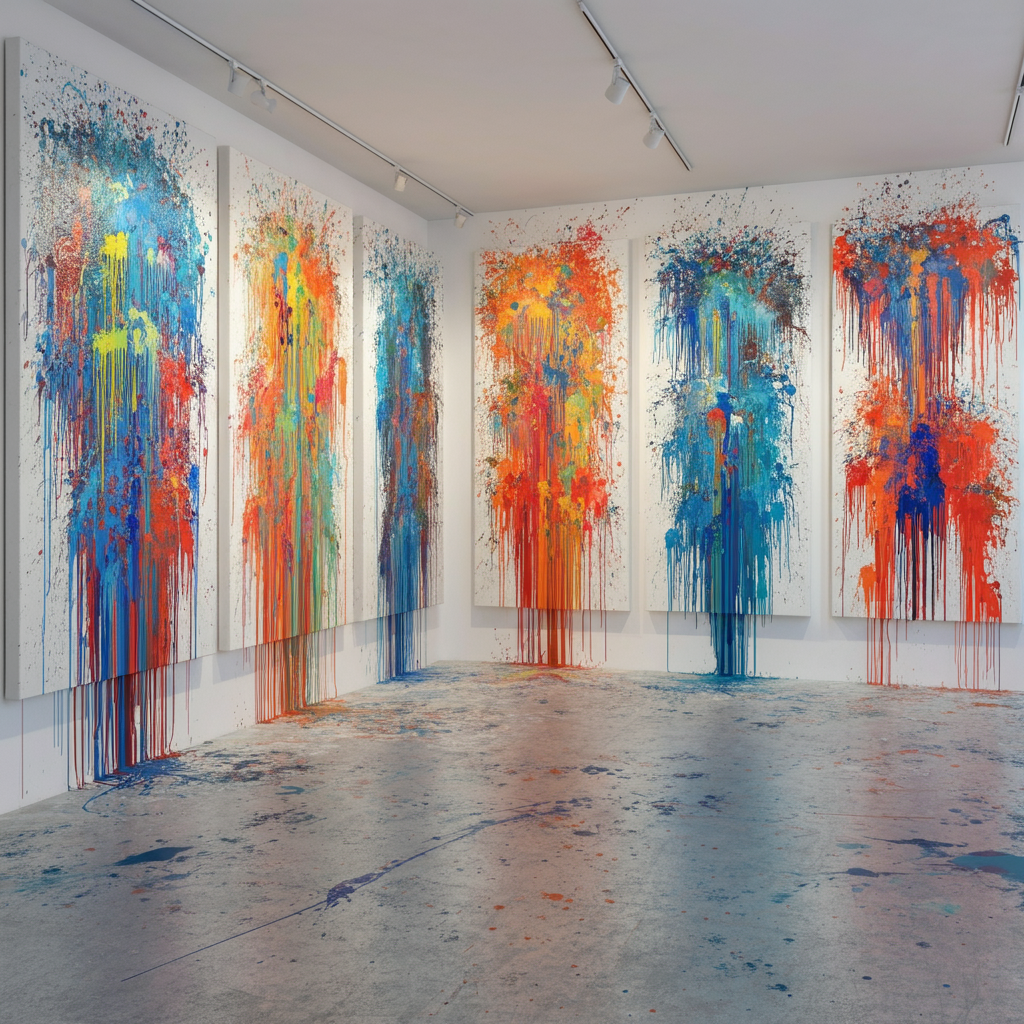
Gallery of Inspiring Drip Art Projects
Need ideas? Here are some stunning examples of how DIY enthusiasts have transformed simple materials into mesmerizing works of art.
- Bright Abstracts: Layering neon tones over a black canvas to create a striking modern piece.
- Functional Art: Turning simple planters into gallery-worthy decor using metallic drip effects.
- Custom Decor: Designing one-of-a-kind accent trays or coasters to add personality to home spaces.
- Mood-Inspired Pieces: Using soft pastel shades to evoke calmness or bold primary colors to create energy-filled designs.
- Mixed Media Experiments: Incorporating textures like glitter, sand, or small beads into the dripping process for added depth and intrigue.
- Seasonal Themes: Crafting artwork inspired by the seasons, like warm autumn tones or cool winter blues, to bring a touch of nature indoors.
- Wall Art Statements: Creating large-scale projects with flowing gradients and vivid contrasts that become the centerpiece of any room.
Drip Art in Home Decor
Drip art isn’t just for canvases—it’s a powerful way to elevate your interior design. Here’s how you can incorporate it into your home:
- Statement Walls: Create a feature wall using drip art patterns. It’s a bold way to bring life and color into a room.
- Furniture Hacks: Drip paint onto old furniture to give it a fresh, artsy look. Think coffee tables, stools, or even mirrors.
- Functional Pieces: Add your creative touch to household items like trays, lampshades, or ceramic pots.
- Canvas Clusters: Hang a collection of small drip art canvases together to create a cohesive yet dynamic gallery wall. This adds a striking visual focal point to any space while showcasing your artistic flair.
- Textile Accents: Incorporate drip art-inspired designs into textiles like throw pillows, rugs, or curtains. These subtle touches can tie a room together while adding depth and personality.
- Outdoor Decor: Extend drip art to your outdoor spaces by painting plant pots, benches, or patio accents. This creative expression brightens your garden or balcony and makes the area feel uniquely yours.
With endless possibilities, drip art offers a unique way to personalize your space and make it reflect your style.
Why You Should Explore Drip Art Today
Drip art truly embodies the joy of unfiltered creativity. This mesmerizing art technique celebrates spontaneity, expression, and the beauty of imperfection. Unlike traditional painting methods, where precision and control often take center stage, drip art invites you to let loose, embrace the unpredictable, and allow the paint to flow freely.
Whether you’re an experienced artist or a beginner, drip art offers something for everyone. It’s an excellent way to unwind after a long day, explore new artistic possibilities, or bring vibrant energy to your living space. With its playful approach, drip art encourages experimentation—mixing colors, layering textures, and discovering unexpected outcomes. It’s a reminder that the creative process itself can be just as fulfilling as the finished piece.
Have a favorite drip art project? We’d love to see it! Share your masterpieces with us and join a thriving community of art enthusiasts who find joy in expressing themselves through this dynamic medium. Whether it’s a bold abstract composition, a delicate cascade of hues, or a custom piece that speaks to your personality, your work is a testament to the beauty of individuality.
If you’re new to drip art, don’t worry—free-flowing creativity is the only rule! Gather your materials, let gravity and movement guide your paint, and see where your imagination takes you. Remember, the magic of drip art lies in its unstructured charm, making every creation uniquely yours. So dive in, have fun, and let your artistic spirit shine!
Frequently Asked Questions about Drip Art
Q: Do I need to have prior experience in art to try drip art?
A: Not at all! Drip art is all about experimenting and letting your creativity flow. There are no strict rules, making it perfect for beginners and seasoned artists alike.
Q: What supplies do I need to start drip art?
A: You’ll need basic supplies like acrylic paint, a canvas or surface to work on, and tools like squeeze bottles, cups, or sticks. Optional extras include protective gloves and drop cloths to keep your workspace clean.
Q: Can I use drip art on different materials?
A: Absolutely! Drip art can be applied to a variety of surfaces like canvas, wood, ceramics, glass, and even fabric. Feel free to experiment and find what works best for your project.
Q: How do I avoid making a mess while doing drip art?
A: To keep things tidy, set up your workspace with a drop cloth or old newspapers. Use gloves if desired, and always allow your pieces to dry in a protected area to avoid accidental smudging.
Q: How long does it take for drip art to dry?
A: Drying times depend on your paint’s thickness and the layering. Typically, it takes around 24-48 hours for the art to fully dry. Be patient, as rushing the process can ruin your design.