

Explore the creative process behind a painting—from inspiration and sketching to layering techniques and finishing touches. Start your artistic journeytoday!

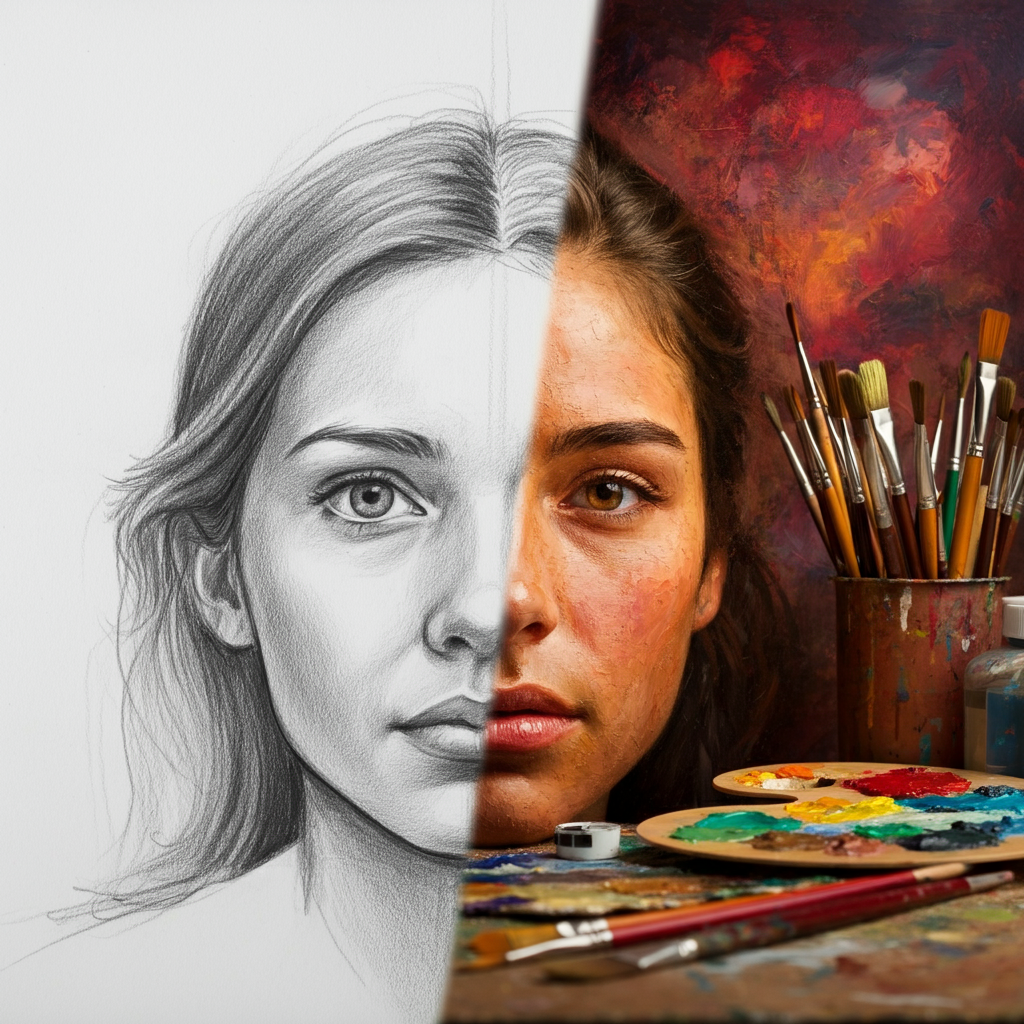
From Sketch to Masterpiece: The Journey of a Painting
Every painting tells a story—not just through its colors and subjects but also through the effort, creativity, and passion poured into its creation. The process of moving from a blank canvas to a finished masterpiece is both intricate and deeply rewarding. It’s a quintessential manifestation of human expression, where every brushstroke represents an emotion, a decision, and a vision brought to life.
This blog will take you through the fascinating steps of developing a painting, from those first sparks of inspiration to presenting a piece you can be proud of. Whether you’re an art enthusiast, an aspiring artist, or a student curious about the painterly process, this guide will provide you with insights into what makes the artistic journey so unforgettable.
The Spark of Inspiration and Conceptualizing Your Painting
Every painting begins with an idea—an inspiration that ignites the desire to create. This can stem from anywhere—a vivid sunset, the emotions of a cherished memory, or even a social issue.
Finding Your Inspiration
Artists often draw inspiration from their personal experiences, nature, literature, or even fleeting moments of beauty in their everyday lives. For example, Claude Monet’s timeless water lily series was born out of his passion for his own garden and the way light interacted with it.
Giving Form to Your Idea
Once inspired, the next step is conceptualization. What story do you want your painting to tell? Is it abstract, symbolic, or realistic? Begin by visualizing the scene, thinking about the mood you want to convey and the message behind it. This phase is essential to give your painting a purpose and guide your subsequent steps.
Pro tip:
- Keep a journal or sketchbook handy to jot down ideas, no matter how spontaneous. Many ideas that seem fleeting can evolve into groundbreaking concepts later.
Sketching and Initial Composition
Before the paint hits the canvas, sketching lays the groundwork for your masterpiece.
Creating the First Draft
Sketching allows you to map out the composition—the arrangement of elements in your painting. It ensures balance, flow, and harmony while helping you avoid proportion mistakes.
For example, if you’re painting a still life, sketch out the objects’ placement to create an engaging focal point. Use grids or a light pencil to outline major shapes and structures. This helps you work out your design and composition without the fear of making irreversible mistakes.
Composition Techniques
The rule of thirds, golden ratio, and leading lines are tried-and-true methods for achieving an aesthetically pleasing composition. These techniques help guide the viewer’s eye across the artwork, ensuring they focus on the main subjects while exploring the entire canvas.
Pro Tip:
- Start with light values so corrections are easier to make. A rough, messy sketch evolves into an organized composition as you refine it over time.
Building Layers and Creating Depth
Once the foundation is set, start painting by building layers—a crucial step for adding depth and dimension.
Layering Techniques
Begin with an underpainting, where you establish shadows, highlights, and general values using a monochromatic base. This helps create depth before adding color.
Gradually apply thin layers of paint, building richness and complexity with each successive coat. Layering is especially important in mediums like oil and acrylic paint, as it allows you to manipulate texture, color gradients, and luminosity.
The Magic of Color Mixing
A painting’s mood and impact depend heavily on colors. Experiment with mixing hues to achieve sophisticated tones and shades that aren’t straight out of a tube. Think about how colors interact and use contrasts like warm vs. cool tones or complementary colors to add vibrancy.
For example, Vincent van Gogh’s “Starry Night” uses a striking combination of yellows, blues, and greens to create depth and energy within the dreamy night sky.
Pro Tip:
- Take extra time on mid-tones; these are crucial for creating smooth gradients and natural-looking transitions.
Adding Details and Refining Your Painting
Details are where your painting truly begins to shine.
Highlighting Textures and Intricacies
Adding fine details—like the sparkle in an eye, the veins in a leaf, or the pattern of clouds—can elevate your painting. Tools such as small brushes, palette knives, and even unconventional items like sponges can help create textures and add layers of realism.
Refining the Edges
Softening edges or sharpening lines in targeted areas can guide the viewer’s focus. Use fine brushes for intricate work and to refine any areas where shapes intersect.
Pro Tip:
- Step back often while painting. Viewing your work from a distance helps you spot areas needing adjustment and gives you a balanced perspective on your progress.
Overcoming Challenges Along the Way
No artistic process is without its hurdles. Whether it’s creative block, mistakes, or unexpected outcomes, these challenges can lead to growth and innovation.
Common Obstacles
- Creative Blocks: When faced with creative stagnation, revisit your inspiration or step away for a short break.
- Mistakes: Treat errors as opportunities to explore new techniques or perspectives. For example, a blurry line may lead to a beautiful gradient effect that enhances your piece.
- Lack of Motivation: Surround yourself with inspiration. Follow artists you admire, visit galleries, and engage with art communities to reignite your passion.
Remember, every painting teaches you something, and overcoming obstacles adds richness to your artistic skillset.
Final Touches and Preparing for Presentation
The last steps focus on perfecting and showcasing your artwork.
The Final Touches
Once you’ve completed your painting, clean up your edges and add highlights or shadow details where needed. This could be the glint of light on water or a subtle shadow to emphasize depth.
Varnishing and Framing
Varnishing your finished piece not only protects it but also enhances the colors and gives the painting a cohesive finish. Once varnished, consider framing the artwork in a style that complements its aesthetics.
Preparing for Display
Whether it’s for your own home, an art gallery, or an online portfolio, presentation is key. A well-photographed painting can capture its essence for a global audience, while proper lighting in a physical space can make a world of difference in how viewers experience it.
Pro Tip:
- Write an artist’s statement or title for your work to provide viewers with context and deepen their connection to the piece.
Your Artistic Journey Awaits
Transforming a blank canvas into a masterpiece is a creative adventure that requires patience, passion, and persistence. From conceptualizing your vision to adding those final details, every step is an opportunity to grow as an artist.
For art enthusiasts, this process offers a deeper appreciation of the work behind every stroke. For aspiring artists, it’s a reminder that brilliance comes not from perfection but from dedication. And for students, it’s a roadmap to mastering your craft while enjoying the ride.
Are you ready to begin your artistic adventure? Grab your sketchbook and start transforming an idea into your very own masterpiece. After all, every great piece of art was once a work in progress.