

Realistic skin tones are a hallmark of compelling portrait and figurative art. Capturing the subtle nuances of human skin can bring your paintings to life, but it’s no easy feat. From understanding undertones to mastering blending techniques, creating lifelike skin takes patience, practice, and a willingness to experiment.

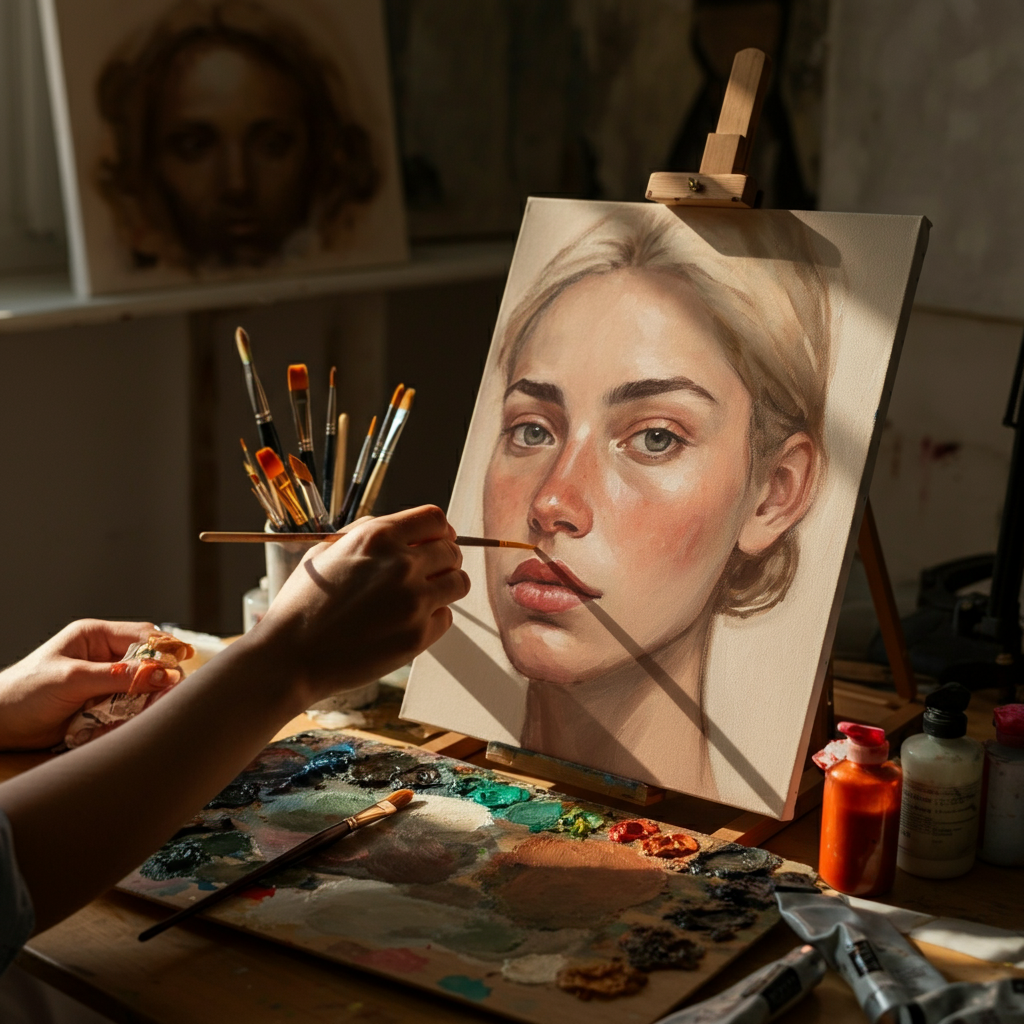
This guide will walk you through the process, step-by-step, to help you paint skin tones that are as close to life as possible. Whether you’re a beginner or an experienced artist, you’ll find actionable tips to elevate your artwork.
Understanding Skin Tones
Before picking up your brush, the first thing to understand is that skin isn’t simply one flat color—it’s a symphony of hues, undertones, and shadows. Skin color varies based on light, texture, and blood flow beneath the surface.
What are Undertones?
Undertones are the subtle hues that lie beneath the outer layer of the skin. They fall into three main categories:
- Cool Undertones: These have hints of blue or pink, often seen in fairer skin tones.
- Warm Undertones: These are characterized by yellow, peach, or golden hints. They can be found in a range of skin tones.
- Neutral Undertones: A balance of warm and cool hues. Neutral undertones can appear as a mix of pink and yellow or simply be a true beige.
These undertones play a vital role in creating believable skin tones. As Michael Hampton, artist and author, emphasizes, “Understanding the balance of cool and warm undertones in skin is the first step to capturing its true essence.”
Observing your subject in different lighting and skin textures will help you identify these undertones and guide your color choices.
Essential Tools and Materials
To create realistic skin tones, having the right tools on hand makes all the difference. Here’s what you’ll need:
Paints
- Acrylic, oil, or watercolor paints (depending on your preference)
- Primary colors—red, yellow, and blue
- White and black paints (for tonal adjustments)
- Earth tones such as burnt sienna, raw umber, and ochre
Brushes
- Flat and round brushes for coverage
- Fine detail brushes for precision work
- Fan brushes for blending
Accessories
- Palette (for mixing paints)
- Palette knife
- Canvas or paper
- Easel
- Spray bottle (if using acrylics to keep the paint moist)
Investing in high-quality materials ensures longevity and better pigment results in your work.
Step-by-Step Guide
Step 1: Observe and Sketch
Begin by closely observing your subject. Note the light source, skin texture, highlights, and shadows. Sketch an outline on your canvas or paper to serve as your guide.
Step 2: Mix the Base Skin Tone
Start with a neutral base by mixing red, yellow, and blue. Adjust proportions depending on whether the tone leans warmer (add more yellow) or cooler (add more blue). Add white to lighten or black for darker tones.
Pro Tip: Use small amounts of paint when you start mixing. It’s easier to adjust gradually, rather than correcting an over-saturated color.
Step 3: Identify and Add Undertones
Add hints of pink, peach, or green to mimic undertones. For example:
- Fair skin may require more pink tones.
- Medium skin often benefits from yellow or orange undertones.
- Dark skin might include hints of red, green, or purple.
Step 4: Block in the Base
Using a flat brush, lay down the base color across the face or body. Don’t worry about perfection at this stage—you’re setting the foundation for future layers.
Step 5: Add Shadows and Highlights
Identify where the light hits the skin and where shadows fall:
- Highlights: Mix your base color with white, leaning toward warm or cool as needed.
- Shadows: Darken the base by adding burnt umber or dioxazine purple for depth.
Apply these with smooth, directional strokes to create a light gradient effect.
Step 6: Blend for Realism
Here’s where the magic happens. Use a blending brush or sponge to soften harsh transitions between light and shadow. Circular motions work best to create a seamless effect.
Step 7: Add Texture and Details
Skin is rarely smooth—it has freckles, pores, veins, and blemishes. Use a fine detail brush to add subtle texture and imperfections. Layering translucent paint can create depth. Remember to observe your subject for reference.
Step 8: Blend and Refine
Blending and refining are crucial steps to bring your portrait to life. Use soft brushes or blending tools to smooth out transitions and unify the overall look. Pay attention to areas where light and color shift delicately on the skin.
Emily McDowell, a portrait painter, emphasizes, “The key to realistic skin tones lies in observation and practice. Study your subject in different lighting to understand the nuances.”
Art educator John Bryant advises, “Patience is your greatest ally when blending skin tones. Take your time to build layers gradually for a more convincing result.”
Additionally, renowned artist Sophia Alvarez states, “Never underestimate the power of subtle highlights and shadows—they add the dimension that makes your subject look truly lifelike.”

Tips and Techniques
Here are additional strategies to perfect your craft:
- Work in Layers: Multiple thin layers build depth while allowing you to make fine adjustments.
- Experiment with Mediums: Experiment with glazing mediums for softer transitions or gel mediums for texture.
- Practice Color Matching: Use a reference photo or live model to match skin tones as closely as possible.
- Observe in Natural Light: Artificial light can distort colors. Where possible, paint with natural light.
- Understand Composition Principles: Study the rule of thirds, balance, and focal points to create visually compelling artwork.
- Keep Your Tools Clean: Regularly clean brushes and tools to maintain precision and avoid unintentional color mixing.
- Take Breaks to Assess: Step back frequently to view your work from a distance, helping you identify areas that need adjustment.
- Learn from Masters: Study the techniques and works of renowned artists for inspiration and to refine your style.
- Experiment Fearlessly: Don’t be afraid to try unconventional methods or tools to discover new techniques and textures.
Jules Kae, an art instructor, reminds us, “Mastering skin tones is a journey of patience and experimentation. Don’t be afraid to mix colors and push your boundaries.”
Common Mistakes to Avoid
Even experienced artists can fall into common traps when painting skin tones. Here’s what to watch out for:
- Overuse of White and Black: Excessive white can make skin look chalky, while too much black can dull the tone.
- Ignoring Undertones: Missing subtle undertones results in flat, lifeless skin.
- Harsh Transitions: Failing to blend properly can create an unrealistic appearance.
- Relying Too Heavily on Premixed Colors: Custom mixing ensures more nuanced skin tones.
- Over-Saturating Colors: Overly vibrant colors can make the skin look unnatural and cartoon-like.
- Neglecting Light Source: Ignoring the direction and intensity of light results in inconsistent shadows and highlights.
- Uniform Skin Tone: Keeping the entire skin tone uniform ignores natural variations and can reduce realism.
- Overworking the Canvas: Excessive layering without letting paint dry can lead to muddy or uneven textures.
Avoiding these pitfalls will bring you one step closer to lifelike results.
Inspiration and Practice
Mastering skin tones requires practice and experimentation. Start with simple sketches focused on blending and highlights, then move on to full portraits using live models and photos as references.
Alex Tzavaras, a figurative artist, says, “Texture and variation are as important as the color itself in creating lifelike skin in paintings.” Beyond just matching skin colors, the texture and subtle light reflections are crucial for realism.
Challenge yourself with different lighting conditions and diverse skin types to deepen your understanding. The more you experiment, the better you’ll get at capturing the complexities of skin tones in your art.
Master the Art of Skin Tones
Creating realistic skin tones is about more than just mixing the right colors—it’s about understanding light, tone, and texture. By following this step-by-step guide and practicing continuously, you’ll refine your craft and breathe life into your portraits.
Got a realistic skin tone painting you’re proud of? Share it with us! Feel free to tag our handle or join our artist community to connect with like-minded creatives. Together, we can inspire each other to achieve artistry that stands out.
FAQs
How do I mix realistic skin tones?
Start with a primary palette of red, yellow, blue, and white. Gradually mix these colors, focusing on subtle variations to match the desired skin tone. Adding small amounts of complementary colors can help neutralize overly vibrant tones.
What brushes work best for painting skin?
Soft, rounded brushes or blending brushes are ideal for creating smooth transitions and blending. For texture, experiment with stippling brushes or fan brushes to mimic pores or fine details.
How can I improve my shading technique?
Study light sources and how they affect the face. Use reference photos to observe shadows and highlights, and practice using glazing or layering techniques to add depth and dimension.
What are common mistakes to avoid when painting skin tones?
Avoid using a single color for shadows and highlights; incorporate variations for a lifelike representation. Be careful not to make the tones too uniform or overly saturated, as real skin displays a range of undertones and textures.