

Charcoal art is an age-old medium that continues to captivate artists and audiences alike. Its tactile nature, dramatic contrasts, and versatility make it a favorite among both beginners and seasoned artists. Whether you’re new to the medium or looking to refine your skills, this guide will walk you through everything you need to know to master charcoal.
From understanding the tools to learning foundational and advanced techniques, we’ll explore every facet of charcoal art. You’ll also discover tips for showcasing and digitizing your work, ensuring the timeless appeal of charcoal translates into the modern age.

A Brief Introduction to Charcoal Art
Charcoal as an artistic medium has been used for centuries, dating back to prehistoric cave drawings. Renowned for its boldness and flexibility, charcoal became prominent during the Renaissance, used by artists like Leonardo da Vinci and Michelangelo for sketches and preparatory studies.
Even today, charcoal art remains a staple in the world of fine arts and illustration. Its capacity to create rich contrasts and intricate details makes it a go-to medium for expressive artwork, realistic portraits, and dramatic compositions. For anyone interested in a medium that combines simplicity with depth, charcoal is a perfect choice.
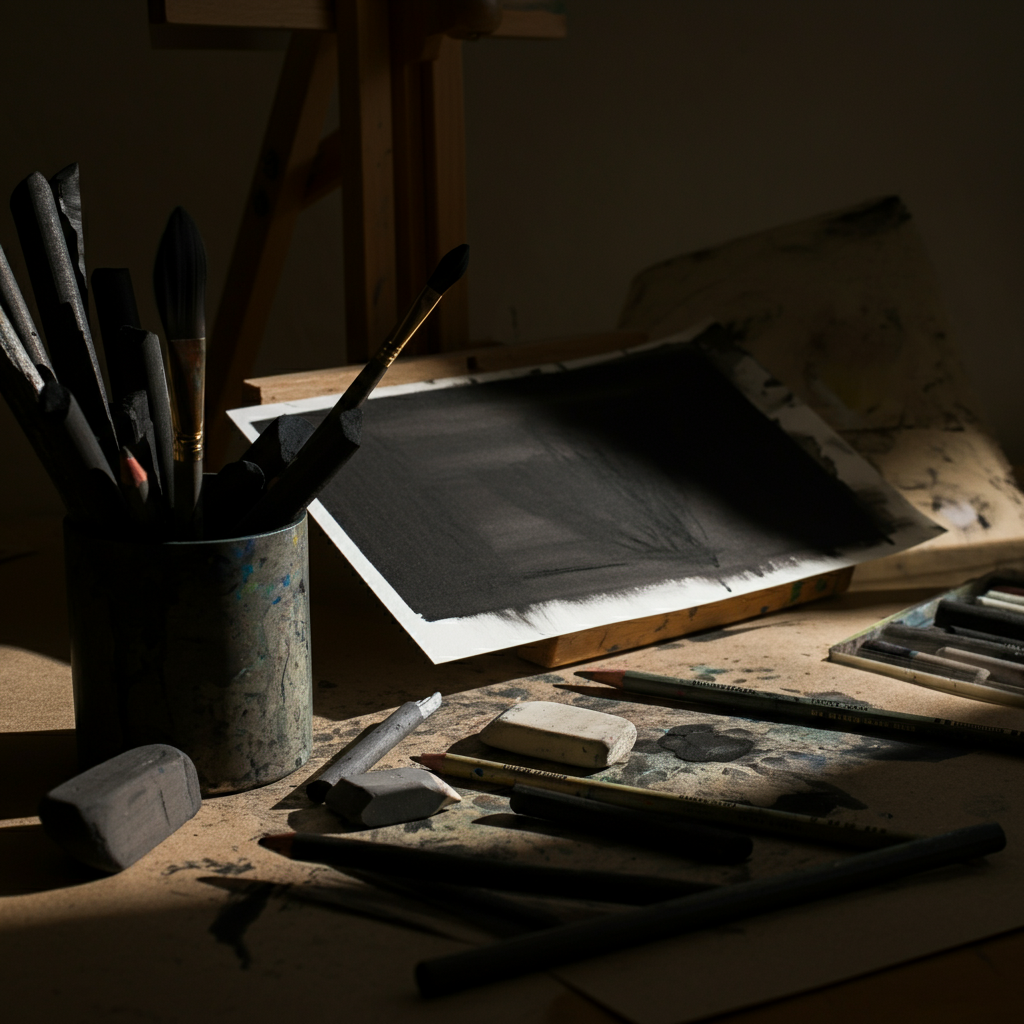
Charcoal Mediums and Tools
Before you start your first charcoal drawing, it’s important to familiarize yourself with the various types of charcoal and the tools that accompany them. Here’s what every charcoal artist needs to know:
Types of Charcoal
- Compressed Charcoal
- Dense and rich, compressed charcoal produces deep blacks that are perfect for bold lines and dramatic shading. They often come in the form of sticks or blocks and are excellent for creating strong contrasts.
- Vine Charcoal
- Lightweight and made from burnt wood, vine charcoal is easy to blend and erase. It’s ideal for creating softer effects and preliminary sketches.
- Charcoal Pencils
- For precision and control, charcoal pencils are a must-have. They’re great for fine details, like facial features or intricate designs.
- Powdered Charcoal
- This loose form of charcoal can be applied with a brush or sponge to create soft gradients. It works beautifully for large-scale shading or abstract effects.
Essential Tools
- Blending Stumps or Tortillons
Smooth and blend charcoal without smudging your fingers. These small paper tools are indispensable for achieving realistic textures.
- Erasers
A kneaded eraser is perfect for lifting charcoal to add highlights, while a vinyl eraser can create sharper edges.
- Fixative Spray
Prevent smudging by lightly spraying your finished drawing with a fixative. Always follow safety guidelines when using fixatives.
- Paper with Texture
Choose a paper with a slight tooth (texture) to help the charcoal stick better. Options like toned paper can also enhance the depth of your work.
Fundamental Charcoal Techniques
Mastering the basics will serve as a strong foundation for your charcoal art. Start with these fundamental techniques to get comfortable with the medium.
Shading
Charcoal excels at creating gradients. Use the side of a stick or pencil to lay down broad strokes, then blend with your fingers or a blending stump for a smooth gradient.
Blending
Blending softens harsh lines and creates seamless transitions between light and dark areas. For clean results, avoid using your fingers excessively—blending tools work better.
Erasing for Highlights
Charcoal is easy to lift off the paper, making it simple to add highlights. Use a kneaded eraser to gently dab the charcoal and create soft highlights, or use a sharp-edged eraser for crisp, bright areas.
Advanced Charcoal Techniques
Once you’re comfortable with the basics, it’s time to experiment with more advanced methods to elevate your artwork.
Cross-Hatching
Enhance shading and texture by layering crisscrossing lines. Cross-hatching adds richness and depth, particularly in areas of medium to dark tone.
Stippling
Create texture or tonal variation by dotting the paper with the tip of your charcoal pencil or stick. This technique is perfect for adding subtle detail to natural elements like leaves or skin.
Negative Drawing
Instead of shading the object itself, focus on shading the area around it. This will make the subject stand out dramatically against the background.
Blending with Tools
Blending is a vital technique for achieving smooth transitions and soft gradients in charcoal drawings. Use tools such as blending stumps, tortillons, or even tissue paper to gently smudge the charcoal. This technique is particularly useful for creating the illusion of soft light, atmospheric effects, or delicate skin textures. Be cautious not to overblend, as it may reduce the dynamic quality of the drawing.
Eraser Highlights
Erasers can be used not just for corrections but also as tools for adding highlights and fine details. Kneaded erasers are particularly effective because they can be shaped into precise points or broad edges, allowing you to lift charcoal selectively. Use this technique to create glimmers of light or intricate designs, such as the texture of fabric or the reflection in an eye.
Scumbling
Scumbling involves layering loose, uneven marks to build up texture. This technique works well for replicating organic surfaces like bark, stone, or fur. By adjusting the pressure and direction of your strokes, you can achieve a range of effects from rough and textured to soft and subtle.
Charcoal Wash
A charcoal wash is created by dissolving charcoal dust with a small amount of water or rubbing alcohol. Apply the mixture with a brush to achieve a painterly effect. This technique is excellent for creating moody, atmospheric compositions or for establishing a base layer of tone before adding further detail.
Tips for Beginners
Getting started with charcoal can feel daunting, but these tips will help you build confidence and grow as an artist.
- Keep Practicing Sketches
Begin with quick sketches to get used to the way charcoal feels and behaves. Don’t focus on perfection—exploration is key.
- Experiment with Pressure
Learn to control the pressure of your strokes. Light pressure creates soft lines, while heavy pressure results in bold, dark marks.
- Avoid Smudging
Use a piece of scrap paper under your hand as you work to protect your drawing from accidental smudges.
- Start Simple
Start with smaller drawings featuring one or two elements before moving on to more complex compositions.
- Practice Consistently
Dedicate time each day or week to practice your skills. Regular practice helps you build muscle memory and gain confidence in your technique.
- Study the Basics
Take time to learn the fundamental principles of drawing, such as perspective, shading, and proportion. A strong foundation will improve your overall work.
- Use References
Don’t hesitate to use photos, objects, or even other art as references to guide your drawings and inspire creativity.
- Be Patient with Yourself
Progress takes time, so avoid being overly critical. Celebrate small achievements and use mistakes as learning opportunities.
- Experiment with Tools
Try different pencils, erasers, and paper types to discover which materials work best for your style and preferences.
Showcasing Charcoal Art
Your artwork deserves to be displayed and preserved properly. Here’s how to ensure your pieces are presented in the best light and remain in good condition.
- Mounting and Framing
Mount your artwork on acid-free backing and use a frame to protect it from physical damage.
- Avoid Direct Exposure
Keep your charcoal drawings away from direct sunlight and humid environments to prevent fading or smudging.
- Label Your Work
Always sign and date your art to maintain provenance, especially if you plan to create a portfolio or sell pieces.
Charcoal Art in the Digital Age
The world is going digital, and your charcoal art can, too! Here’s how to digitize and share your work online.
- Scanning and Photographing
Use a high-quality scanner or camera in natural lighting to create digital copies of your art. Adjust brightness and contrast for better clarity.
- Sharing Online
Platforms like Instagram, Pinterest, and DeviantArt are great for building an audience. Engage with fellow artists to grow your network.
- Selling Your Art
Many artists sell prints or originals on platforms like Etsy or Society6. A digitized portfolio is invaluable in reaching potential buyers.
Find Depth and Expression with Charcoal
Charcoal art is as versatile as it is unique, offering unparalleled depth and drama. Whether you’re adding lifelike shading to a portrait or experimenting with bold abstract forms, the medium allows endless possibilities.
By mastering the techniques discussed above, you’ll not only develop your technical skills but also deepen your appreciation for the artistry behind every stroke.
If you’re ready to take your creativity to the next level, pick up your charcoal tools and start experimenting today—the possibilities are endless.
FAQs
What is the best type of charcoal for beginners?
For beginners, vine charcoal and compressed charcoal are great starting points. Vine charcoal is soft and easy to erase, making it ideal for sketching and light shading. Compressed charcoal, on the other hand, provides darker tones and is excellent for creating bold contrasts.
How do I prevent smudging while working?
To prevent smudging, consider using a fixative spray on your artwork periodically. Additionally, work from the top of the paper to the bottom or from right to left (if you’re left-handed) to minimize contact with your drawing surface. Using a piece of scrap paper under your drawing hand can also be helpful.
Can I mix charcoal with other mediums?
Yes, charcoal mixes beautifully with other mediums such as graphite, pastel, and ink. Experimenting with different combinations can add unique textures and layers to your artwork.
How should I store charcoal drawings?
To protect your charcoal drawings, spray them with a final fixative and store them in a portfolio or between sheets of acid-free paper. This prevents smudging and ensures your artwork remains intact over time.
Do I need special paper for charcoal?
While you can use almost any paper, textured or heavyweight paper is ideal for charcoal. Papers specifically designed for charcoal or pastel offer better grip and allow for richer tones and shading.