Learn art dot painting with this beginner-friendly guide! Explore techniques, tools, and creative ideas perfectly suited for DIY enthusiasts and hobbyists.
Mastering the Art of Dot Painting: A Complete Guide for Beginners
Art Dot Painting is an art form that combines precision, creativity, and patience to create stunning designs. Whether you’re looking for a relaxing weekend hobby or a way to express your artistic side, Art Dot Painting is an excellent choice that works for everyone—regardless of experience level.
This guide will walk you through everything you need to get started with Art Dot Painting, from learning basic techniques to exploring advanced designs. Whether you’re a DIY enthusiast, an art hobbyist, or a total beginner, you’ll find tips and inspiration to spark your creativity with Art Dot Painting.
What is Art Dot Painting?
Dot painting originated as a significant practice in Indigenous Australian art, where intricate dot designs were used to form spiritual artwork. Today, this style has grown in popularity worldwide as a meditative art form for crafting beautiful patterns on canvas, rocks, ceramics, and more.
Modern dot painting doesn’t require previous art skills or knowledge, making it especially popular among beginners exploring new creative outlets.
Materials You’ll Need
Before you get started, you’ll need to gather some essential tools and materials. Don’t worry—you won’t need a professional artist’s toolkit. Here’s what you’ll need for dot painting:
Essential Materials:
- Acrylic Paints: Acrylic paint works best for consistency and coverage. Consider starting with a primary color palette and expanding to metallic or pastel shades later.
- Dotting Tools: Dotting tools include styluses, dowels, skewers, or even household items like the ends of paintbrushes, pencils, or bobby pins.
- Canvas or Surface: Rocks, wood panels, ceramics, or even fabric can be used as your painting surface.
- Paint Palette: Useful for mixing and portioning out small amounts of paint.
- Sealant (Optional): If you want to preserve your art, a clear acrylic sealant will protect painted surfaces.
Additional Tools:
- Toothpicks (for small details)
- Cleaning cloths or paper towels
- A ruler or compass for marking guidelines
- Templates for symmetrical work (optional)
Curious about dot tips and tricks using household items? You’d be surprised at what simple items like cotton swabs or pen caps can achieve!
Starting with Basic Dotting Techniques
Now that you’ve got your materials assembled, it’s time to put those tools to work. Here are the basic techniques you’ll use in dot painting:
1. Perfecting the Dot
Dip your tool evenly into a small amount of paint, and press it gently onto your surface. Lift straight up to avoid dragging. Practice making uniform dots by adjusting the amount of paint on your tool.
2. Varying Sizes
You can create dots of different sizes by using tools of varying diameters or by using a single tool with varying amounts of paint. For finer dots, try using the tip of a toothpick.
3. Dot Placement
Always start with the most significant central dots in your design and work outward. This creates symmetry. Some designs work best when pre-marked with light pencil dots.
Practice these basics before advancing to intricate patterns or color blending.
Stepping Into Advanced Dotting Techniques
Once you’re comfortable with the basics, it’s time to experiment with more complex designs and techniques to elevate your dot painting skills.
1. Blending Colors
To make gradient designs, try dipping your tool into two colors of paint at the same time. When applied, the paint blends beautifully.
2. Creating Mandalas
Mandalas—detailed circular patterns—can be challenging yet rewarding. Use a compass or stencils to map out the symmetrical design before dotting.
3. Layering Dots
To add depth, wait for an initial layer to dry before adding smaller dots on top. Layering is essential for creating intricate 3D effects.
4. Experimenting With Textures
For additional visual interest, you can add textured effects by altering the pressure applied to your tool or experimenting with “swiping” dots into teardrop shapes.
Advanced techniques take dot painting to a professional level and provide endless new options for creativity.
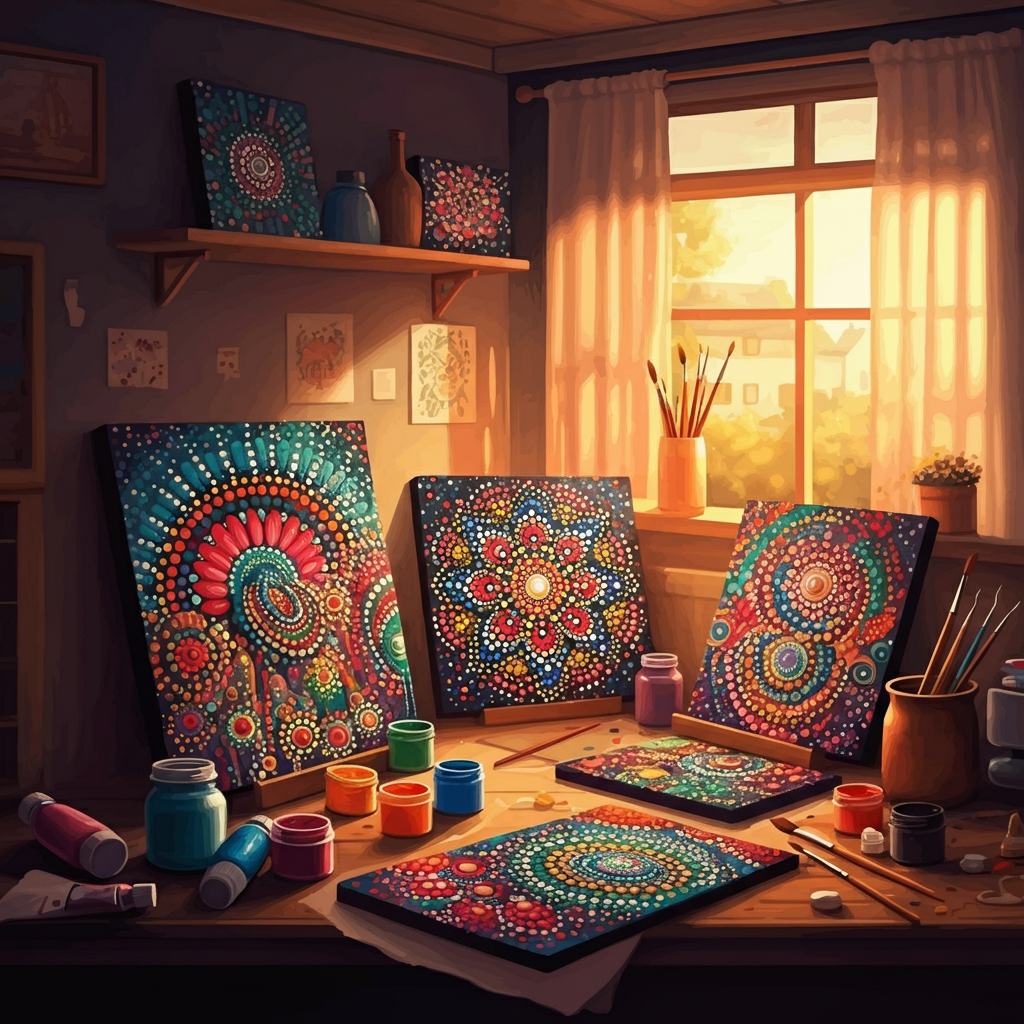
Dot Painting Ideas and Inspiration
Not sure where to start? Here are some fun and creative ideas to inspire your first dot painting project:
- Painted Rocks: Decorate rocks with colorful mandalas or nature-inspired patterns. They make great garden decor or gifts.
- Wall Art: Create symmetrical canvases with vibrant dot designs for home decor.
- Coasters or Plates: Use dot painting to add flair to everyday items around the house.
- Jewelry: Paint bold, colorful patterns on small pendants or earrings for wearables that draw compliments.
- Seasonal Decorations: Make festive decorations—like dot-painted ornaments for Christmas or eggs for Easter.
There’s no right or wrong way to express yourself through dot painting, so feel free to think outside the box.
Tips for Beginners
If you’re just getting started, these beginner-friendly tips will make your dot painting experience more enjoyable:
- Start Simple
Don’t overwhelm yourself with intricate designs at the start. Practice creating basic patterns before moving on to complex ones.
- Use a Template
Pre-drawn templates or stencils can guide symmetrical or recurring designs.
- Patience is Key
Allow each layer of paint to dry completely before adding the next to prevent smudging.
- Test Before Painting
Before working on your final surface, practice on scrap material to get a feel for your tools.
- Clean Your Tools
Wash tools often while painting to prevent dried paint buildup that can ruin clean dots.
- Experiment!
Dot painting is all about exploration. Mix colors, test techniques, and enjoy the process.
Troubleshooting Common Issues
Even seasoned artists encounter hiccups. Here’s how to tackle them:
- Uneven Dots: Check the amount of paint on your tool. Too much will result in splatters; too little will be faint.
- Paint Smudging: Allow dots to dry before adding more. A blow dryer on low heat can speed up the process.
- Off-Center Designs: Use a ruler or compass for mess-free symmetry.
- Rough Edges: Test different tools for cleaner results.
Create Your Masterpiece Today
Art Dot Painting is a joyfully creative outlet that anyone can learn, regardless of skill level. From its meditative qualities to the vibrant designs it produces, Art Dot Painting enables endless exploration.
Are you ready to start Art Dot Painting? Take that first step—grab your materials, try these Art Dot Painting techniques, and see what patterns come alive under your hands.
Looking for more Art Dot Painting inspiration or personalized advice? Drop by our art blog for additional tips and ideas, or share your Art Dot Painting creations with our community using #DottingWithYou. Happy painting!